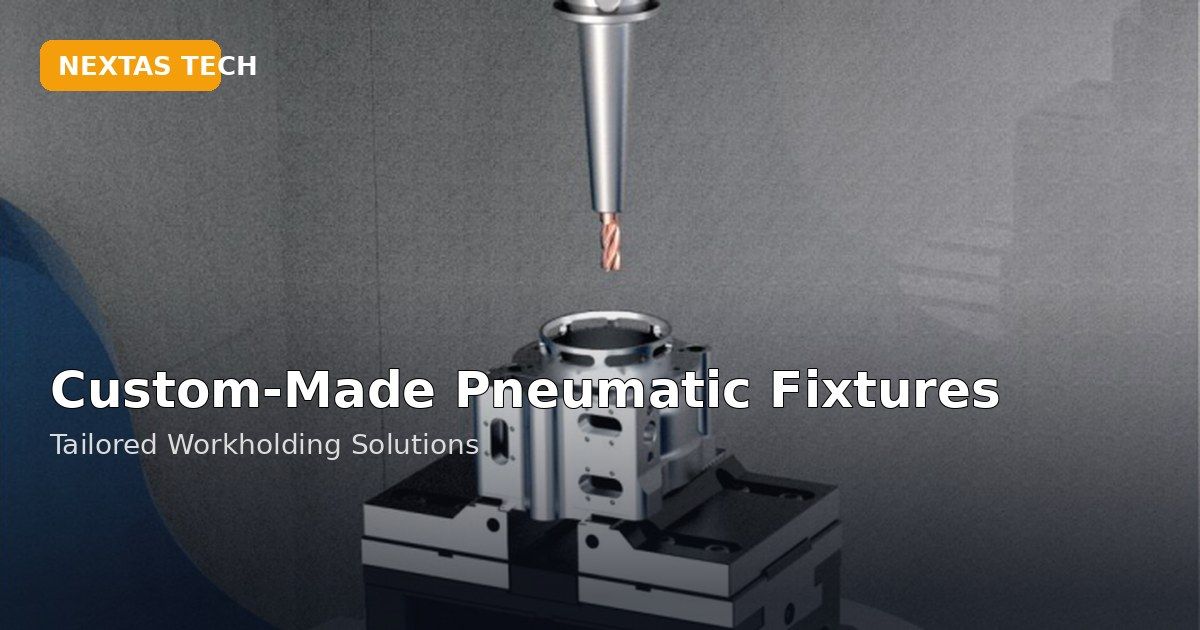
Core answer
Custom does not mean “add air cylinders to a plate.” It means the fixture layout is built around the part's datums, cut, machine and loading path. Quote it only after those facts are clear. Accept it only against a written test plan.
This page does not set one force, accuracy, holding state or cycle result for every fixture. Those items belong to the approved drawing, circuit and order-specific test record.
Custom starts where standard hardware stops
A standard product should get the first look. A pneumatic vise, soft jaw, dovetail unit or simple top plate may already give the part a sound location and enough access. Standard hardware is easier to identify, replace and move between jobs. If it meets the real process need, a custom plate adds work without adding value.
A custom fixture is worth a review when the part needs uneven supports, restricted clamp zones or tool access that a normal jaw blocks. Loading may also drive the choice. A robot or operator needs a clear approach, a known part orientation and room to leave after clamping.
Start with the failure you need to prevent. “The part is complex” is not enough. State whether the part rocks, a jaw covers a cut, the load falls away from a support, or the probe or gripper cannot reach. Each point should lead to a drawing or test.
- Choose custom when the required datum or support plan does not fit standard contact points.
- Choose custom when approved clamp zones and no-mark surfaces leave no sound standard jaw plan.
- Choose custom when the tool, probe or chip path needs a part-shaped opening.
- Choose custom when the loading sequence needs a defined nest, stop or clamp order.
- Stay with standard hardware when it meets the same needs with fewer special parts.
If your main question is how to choose a standard pneumatic vise, use the pneumatic vise selection guide. This article begins after standard workholding has been screened and a part-specific layout may be needed.
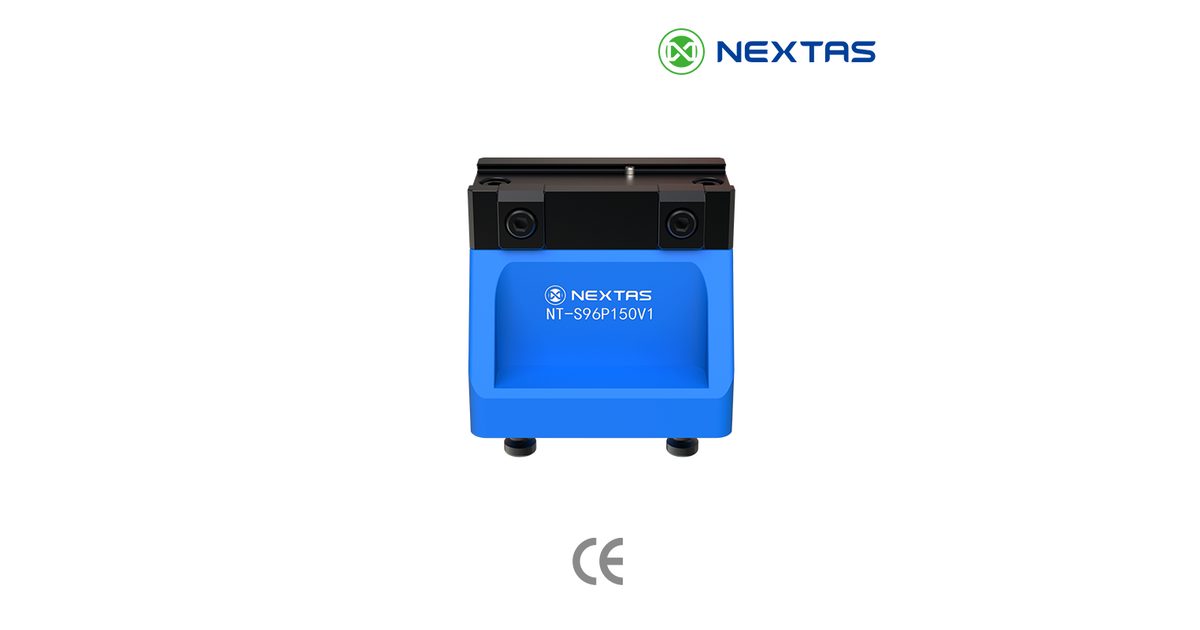
Make the RFQ answer six shop-floor questions
A supplier cannot review a custom fixture from a finished-part image alone. Send the current drawing and revision, plus a 3D model when one exists. Show the raw stock or incoming part as well as the finished shape. The fixture touches the part before all features are complete, so finished geometry may hide the surface that must be located or supported.
Mark the datum plan. A datum is a surface or feature used as a known reference for location or measurement. Also mark each critical-to-quality feature, often shortened to CTQ. A CTQ is a drawing feature that must pass for the part to work or assemble. Link each CTQ to the operation that creates it. That link helps the fixture designer place support and clamp points without shifting the feature that matters.
| Question | What to send | What the review should return |
|---|---|---|
| What is being held? | Drawing revision, 3D model, raw and finished states, material and part mass | A contact map tied to the correct part state |
| What controls the part? | Datums, CTQs, clamp zones, no-mark faces and allowed support areas | Named locating, supporting and clamping roles |
| What loads reach the fixture? | Operation, tool, cut direction, expected load data and any reversing load | A load path and the inputs used for the holding review |
| Where must it fit? | Machine model, table drawing, axes, tool reach, doors, rotary motion and load rule | A loaded envelope and mounting plan |
| What air is available? | Pressure measured at the fixture point, line and valve data, air treatment and allowed exhaust route | A circuit scope and stated operating limits |
| How is the part moved? | Manual or robot load steps, grip area, part orientation, access and recovery plan | A sequence that can be reviewed and tested |
Cutting load is an input, not a slogan. Include its direction, test basis and worst planned cut when the data exists. If it is unknown, send the tool, material, depth, feed and toolpath facts that are known. Mark the load as unknown and name who will calculate or test it.
Measure air at the intended fixture connection, not only at the compressor. Record the normal range, lowest expected condition, hose, valve, port and exhaust plan. The quote can then separate fixture parts from site work.
Draw the part's journey before drawing the circuit
Write the loading sequence as a short list of visible states. Begin with the fixture open and ready. Show how the part enters, what makes first contact, how it reaches the planned supports, when each clamp moves and when the machine may start its normal cycle. Then write the release path in reverse. Include the step for removing chips or coolant from each contact.
Seat confirmation means evidence that the part reached its planned support or datum. That evidence might come from a position sensor, an air check, a probe step or another agreed method. It is project specific. A pressure switch can show a circuit condition, but pressure alone does not prove that the part is seated. The acceptance plan must state what each signal can and cannot show.
Keep normal process logic separate from machine safety. A seat sensor or pressure switch may block the next normal action when its condition is missing. That does not make it a safety-rated function. Guarding, access, stored air, safe exhaust, unexpected movement and emergency response need a separate risk assessment. The responsible machine or cell integrator must select and validate the safety parts.
Decide what happens after a stop. Name who may remove the part, how stored air is handled and what must be checked before the normal cycle resumes.
Fit the loaded fixture, not the bare base
Ask for the exact machine table or pallet drawing. Record locating features, bolt pattern, contact face and any adapter. Then add the fixture, valves, fittings, hoses, part and loading hardware to one model. This full model is the machine envelope: the space used by every item through all planned motion.
Check more than the cutting position. Show open clamps, the loaded and released part, the longest holder, spindle, probe and loading path. Check every rotary index and the move between them. Include the pallet changer, door and transfer route when used. Keep hoses away from snags, tight bends and chips.
Machine load approval also uses the complete assembly. Add the base, fixture parts, valves, fasteners, workpiece and any adapter. Use the machine builder's mass and balance rules. A photo, model family or mounting pitch does not prove fit. The selected drawing and loaded model do.
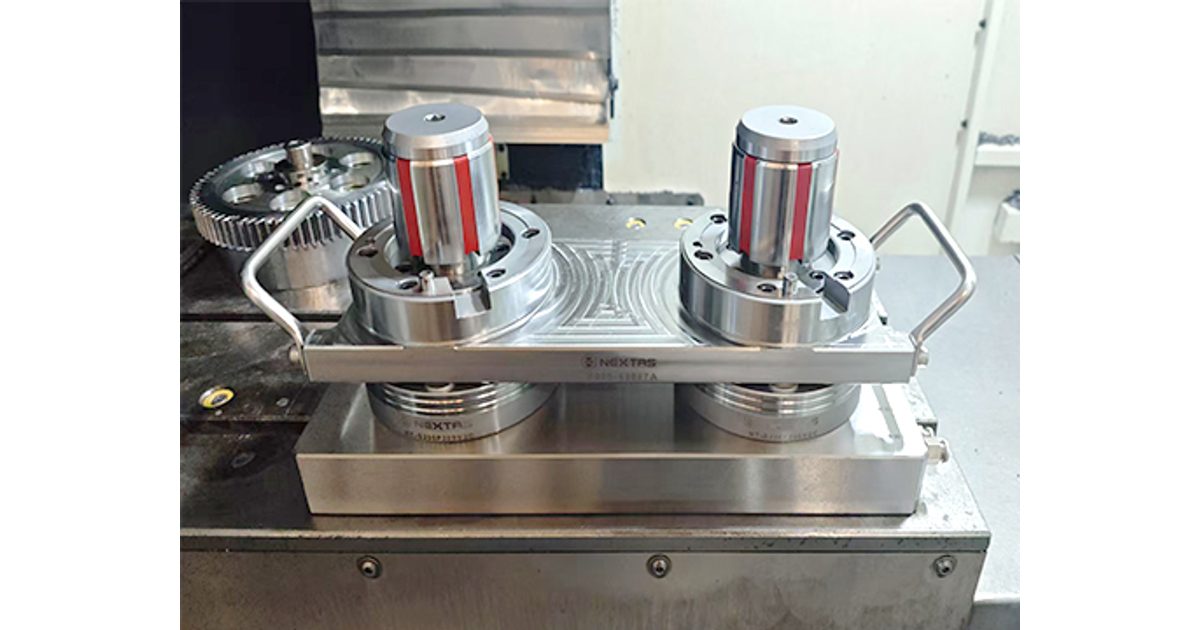
Agree what “ready to cut” must prove
The acceptance sheet should be written before the fixture is built. It names the checks, method, sample, limit, owner and record for each gate. If one item has no agreed limit yet, mark it open. Do not replace the missing value with a broad claim from another fixture.
Freeze the drawing before build
Approve the part revision, loaded state, datum contacts, supports, clamp points, cut access, loading path and machine mount. Mark the air range used for design. List the valves, sensors, tubing, fittings and normal process signals included in the order.
Bench-test the normal sequence
Use a representative part or approved check piece. Record the open, seated, clamped and released states. Measure pressure where the plan calls for it. Check seat response and clamp order. If a signal disagrees or a step runs too long, stop the normal sequence at the named state.
Move to the real machine
Mount the full fixture on the named machine. Use the machine builder's safe setup method to check each axis, tool, probe, door and loading move. Run the agreed trial cut. Inspect the named CTQs with the agreed gauge, method and sample plan. One good part does not prove every future batch.

Recovery closes the handover
Test the planned response to a part that is not seated, low air, a missing process signal and an overlong step. Use an approved safe method. Do not create a hazard on a live machine to prove logic. Record who may reset the stop, what must be checked and which state comes next.
Match the handover pack to the order. List each required drawing, pneumatic diagram, parts or signal list, set limit, inspection record, maintenance point and recovery step in the quote and purchase order.
| Release gate | Evidence to keep | Main decision |
|---|---|---|
| Drawing review | Approved contacts, sequence, interfaces and scope | The build matches the intended part and machine |
| Bench function | State, pressure, seat and sequence records | The fixture follows the agreed normal process |
| Machine trial | Loaded clearance, trial-cut and CTQ inspection record | The named process meets its release plan |
| Recovery | Approved fault checks, reset roles and handover file | Known stops can be handled by the named team |
Use the video as a hardware view, not a test report
A 28-second vertical view of one NEXTAS custom pneumatic fixture layout. It does not prove force, part quality, safe automation or fit for another application.
Put the unknowns in the packet too
A reviewable RFQ does not need every answer on day one. It does need a clear line between facts, open items and assumptions. Use the current part revision and site records. Name who owns the cutting process, machine approval, safety review and part inspection.
Add a short acceptance list. Name the contacts and interfaces to approve, normal states to record, CTQs to inspect and planned response to a missing seat, air condition or process signal. NEXTAS can propose a concept and list missing inputs. Final holding, part quality, machine fit and safe cell operation still need the agreed evidence.
Questions to settle before fixture approval
When is a custom pneumatic fixture better than a standard vise?
Use a custom fixture when a standard vise, jaw or module cannot meet the approved datum, support, tool-access, part-handling or machine-space plan. If a standard product meets those needs, it is usually the simpler starting point.
What should I send for a custom pneumatic fixture RFQ?
Send the current part drawing and 3D model, raw and finished part states, datum and CTQ marks, operation plan, cutting-load data, machine and table drawings, loaded envelope, air data at the fixture, loading steps and the checks required for release.
How should I mark datums and CTQs for the fixture review?
Mark the surfaces or features that set the part location, then link each critical-to-quality feature to the operation that creates it. Also mark allowed clamp zones, no-mark surfaces, support points and areas that tools, probes or grippers must reach.
Does a seat or pressure sensor make the fixture a safety system?
No. A seat sensor or pressure switch can support normal cycle logic, but it is not proof of a safety-rated function. Machine and cell safety need a separate risk assessment, suitable safety parts, safe handling of stored energy and validation by the responsible integrator.
What should the acceptance plan test before production release?
Check the approved drawing, mounting and loaded clearance first. Then record clamp and release states, pressure at the fixture, seat response, sequence limits and planned fault recovery. Run the agreed trial cut and inspect the named CTQs with the agreed method and sample plan.
What if cutting-load or air-supply data is not known yet?
Write unknown rather than inserting a guess. Share the tool, material, cut and air-source facts that are known. The buyer, fixture supplier and machine or process owner can then name the missing calculation, measurement or test before final approval.
Send the part's real constraints
Share the drawing revision, datum and CTQ marks, operation and load data, machine envelope, air record, loading steps and acceptance list. NEXTAS can review the concept and show which facts are still open.